
It’s been awhile since I first shared this dresser discovery with you, and I’ve gone a few rounds with it before settling on a final look. But, I’ve finally finished it and am excited to share it’s new look. I will say that I’m a bit ambivalent about sharing in that I know many people will say that I should have kept it stained – and that’s a valid argument. I think I need to work on my wood refinishing skills too, so that I can salvage and restore wood pieces in their original stained beauty. That said, please know that I appreciate that side of the of the argument. Let’s take a look at this flannel gray dresser makeover. This post contains some affiliate links.
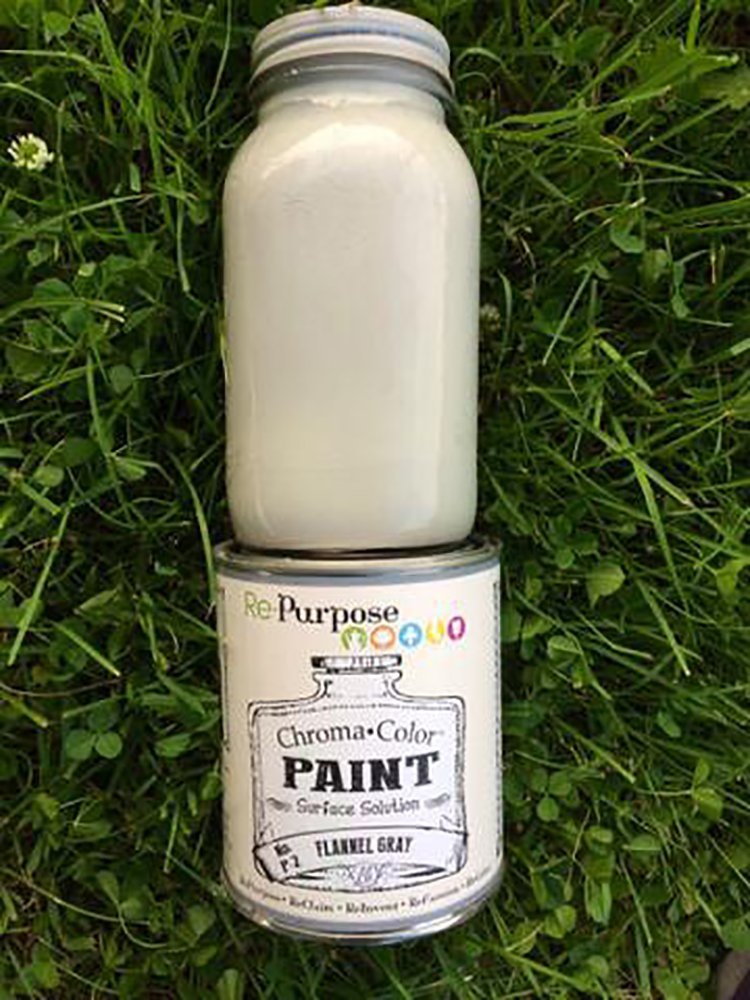
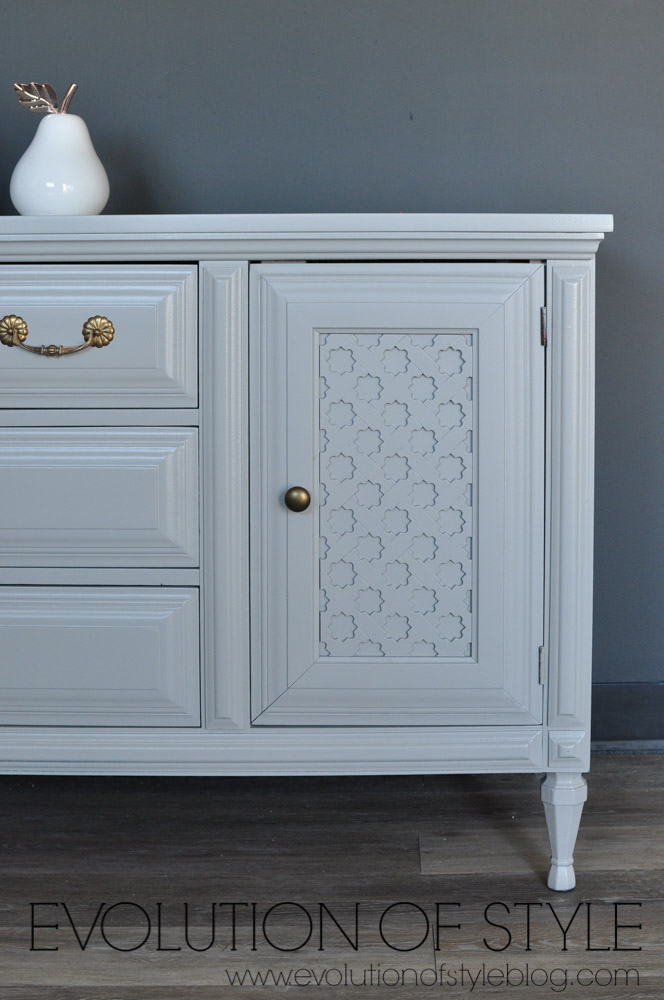
This is a new paint product for me – the RePurpose Chroma Color paint line that I first discovered at the Country Living Fair. It was created by Cari Cucksey (from HGTV’s ‘Cash and Cari). As you might suspect, I’m a bit critical when it comes to paint, but at the same time, I really enjoy trying new products. I have to say, I really love the look and feel of this paint – it’s buttery soft and smooth – so pretty. I ended up using their Flannel Gray color – a soft and pretty shade of gray, just as the name suggests.
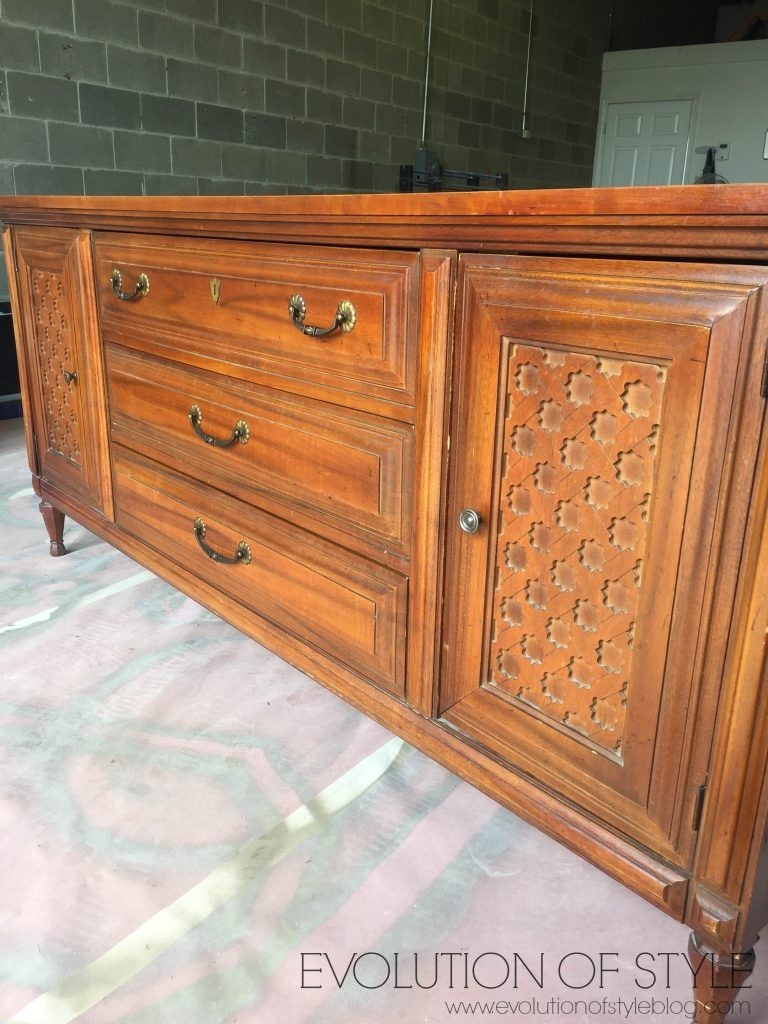
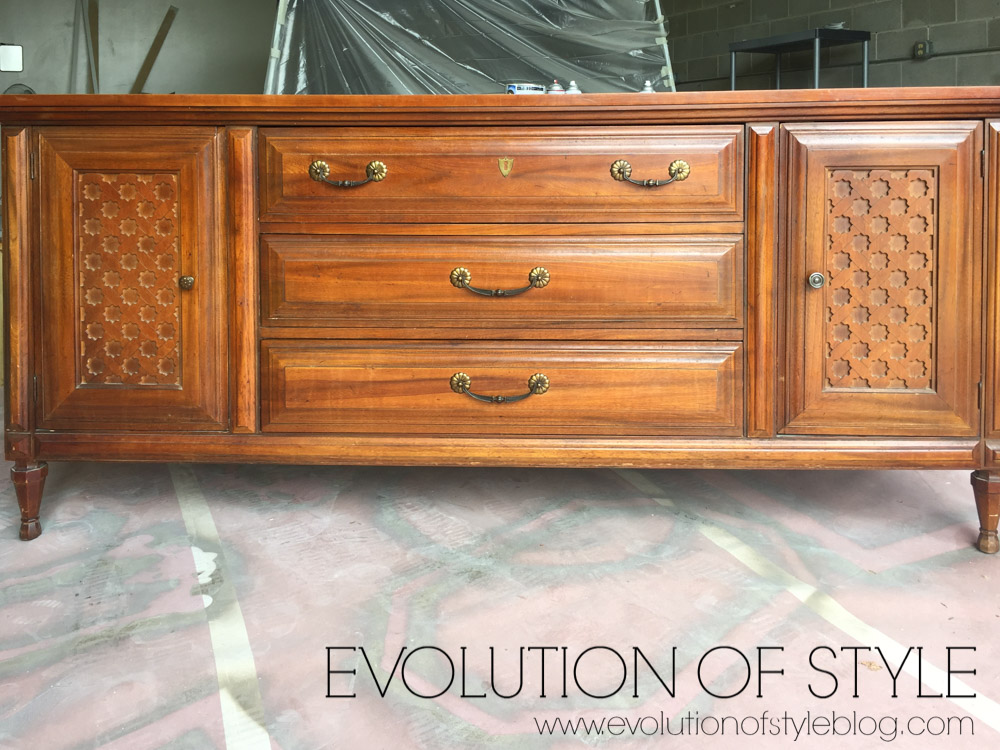
I’ll talk some more about my process, but let’s look at the dresser, shall we?
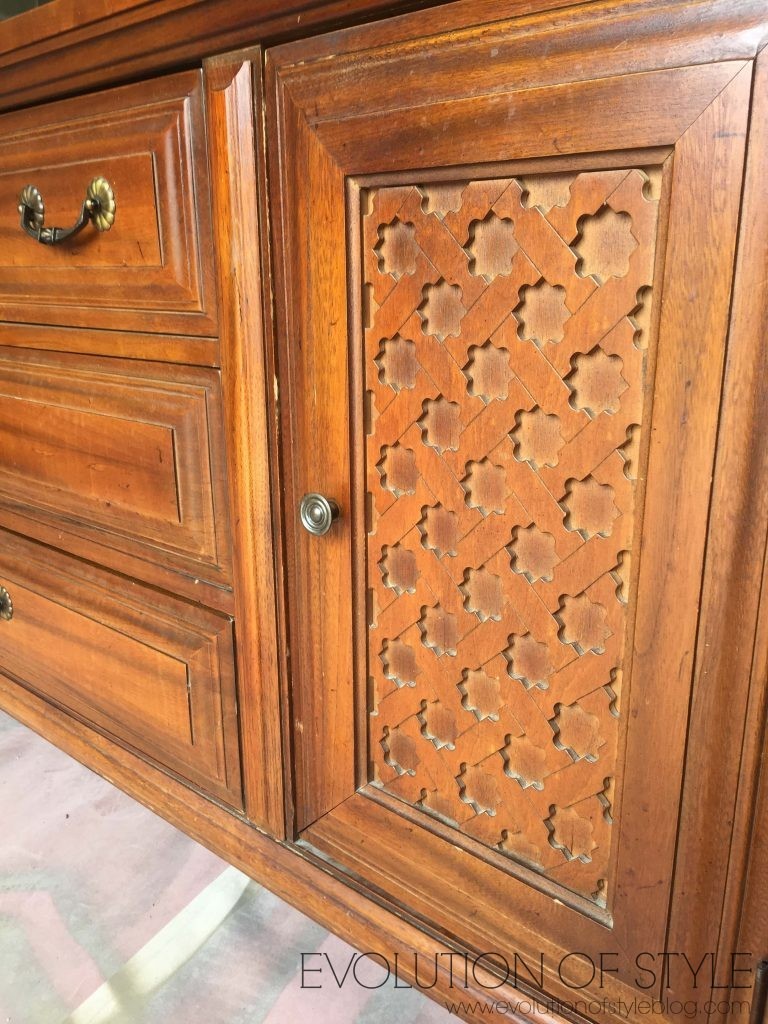
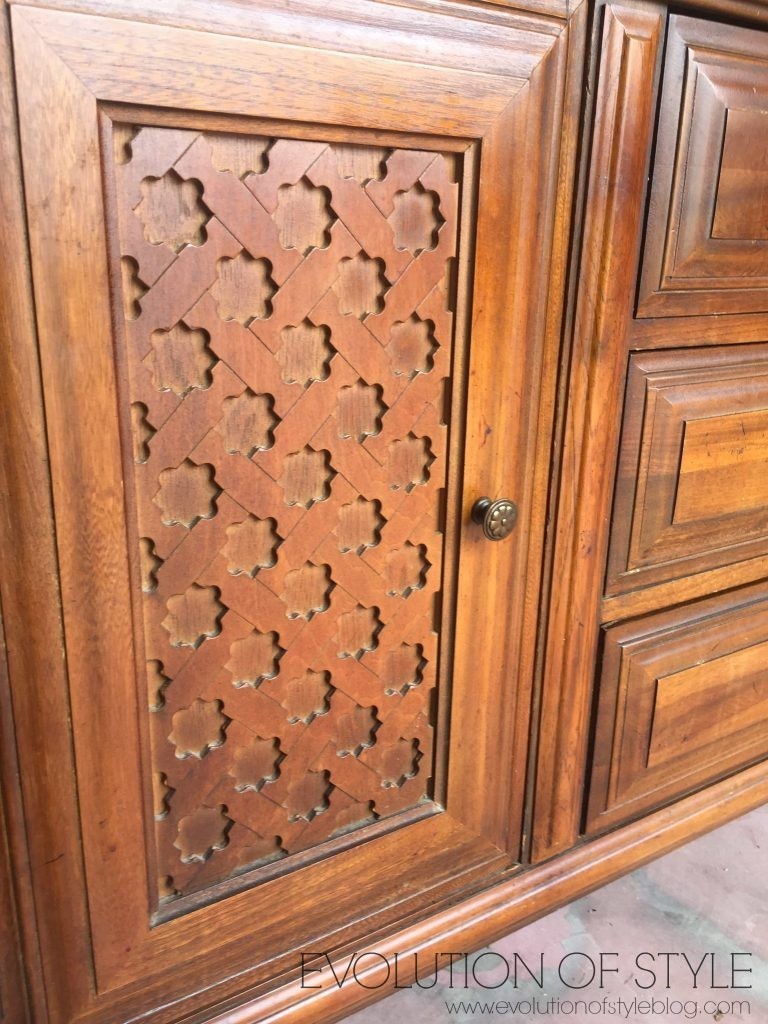
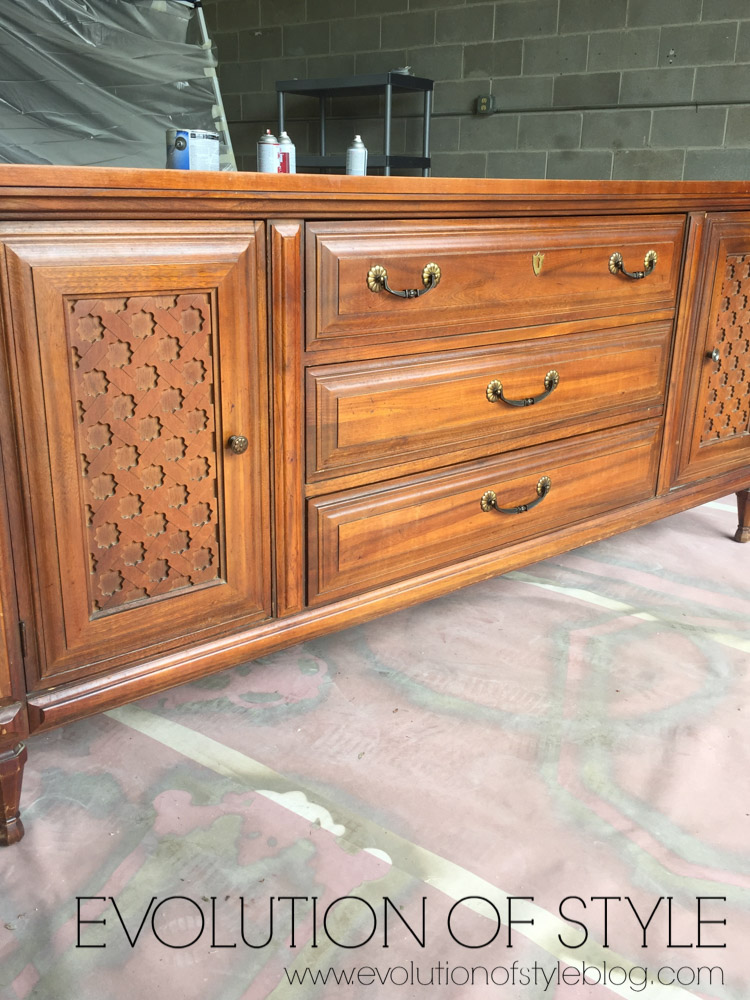
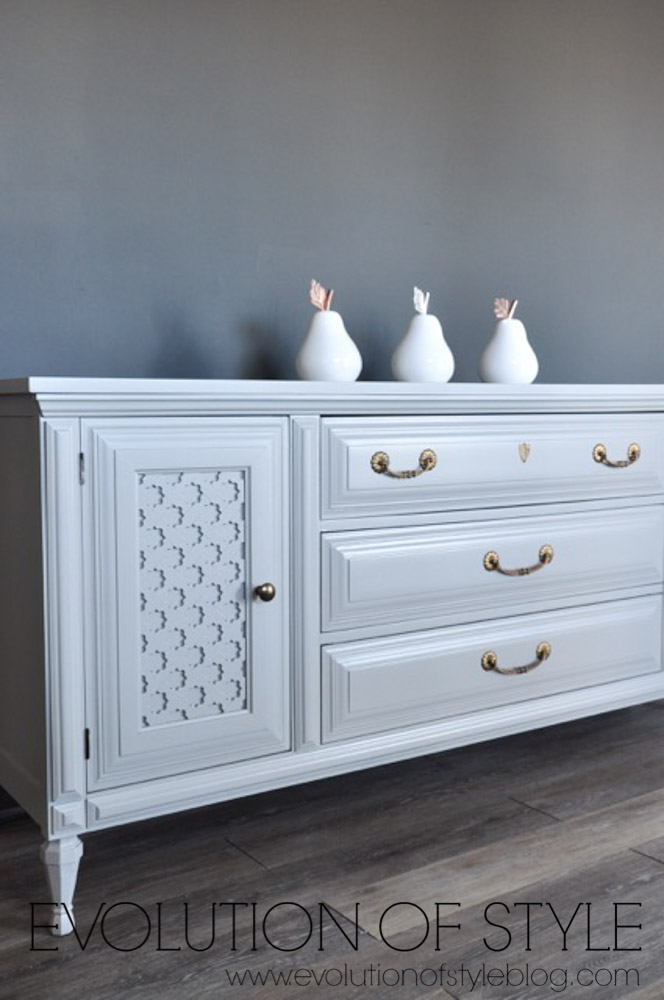
What really got me was the detail on the doors. Ooooh-la-la.
Great bones to this piece, yes?
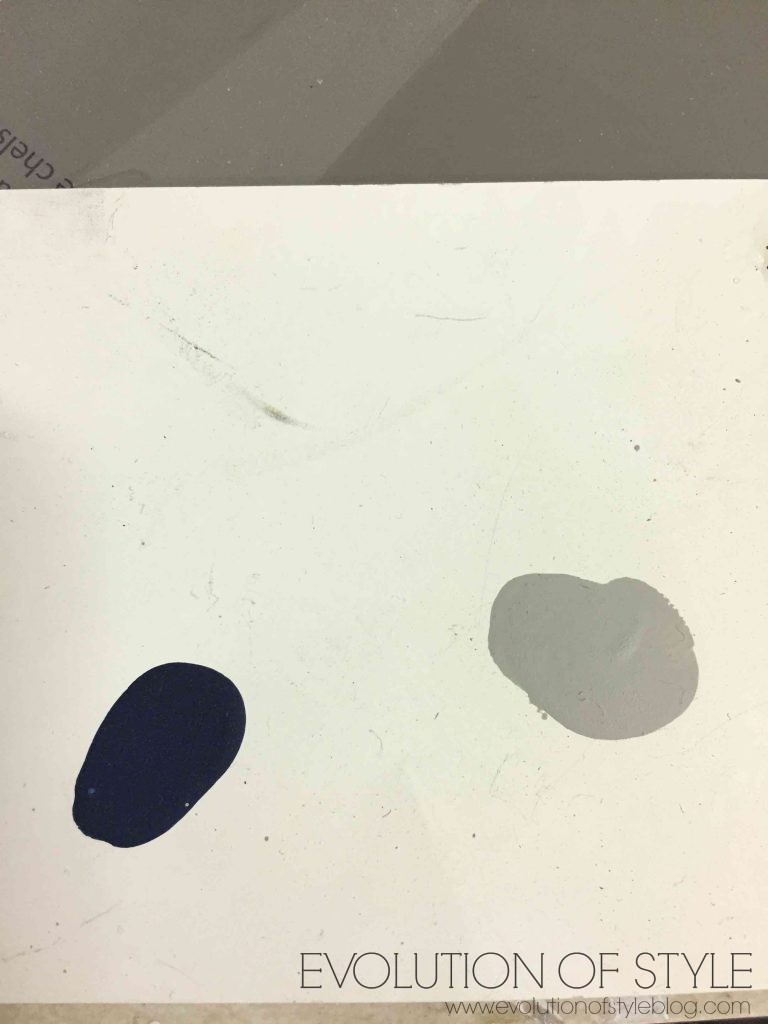
I originally thought I would paint this piece in Gentleman’s Gray – a gorgeous rich indigo blue that I have in my bathroom. But once I got the paint on there, I just wasn’t feeling it.
Then along came the Flannel Gray. You can see here that Gentleman’s Gray and Flannel Gray look really nice next to each other – and I still love Gentleman’s Gray on my bathroom walls, just not for this dresser.
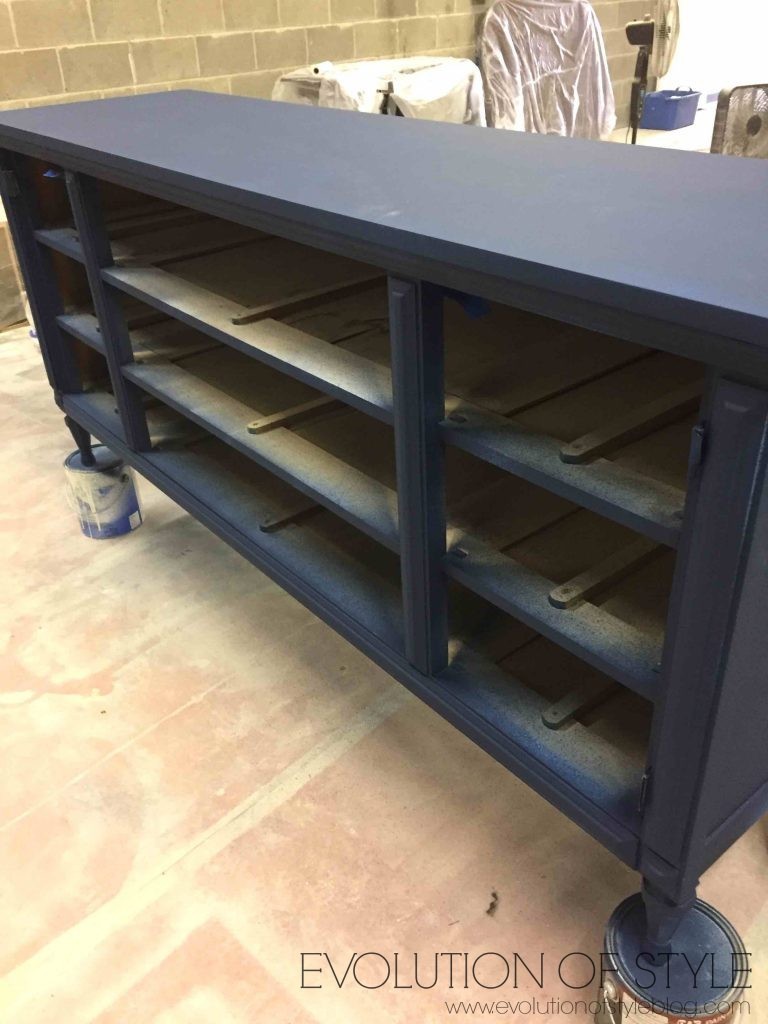
It’s definitely more of the look I was wanting. And yes, I always remove the dresser drawers and door fronts when I paint furniture pieces – it’s just my way of doing things.
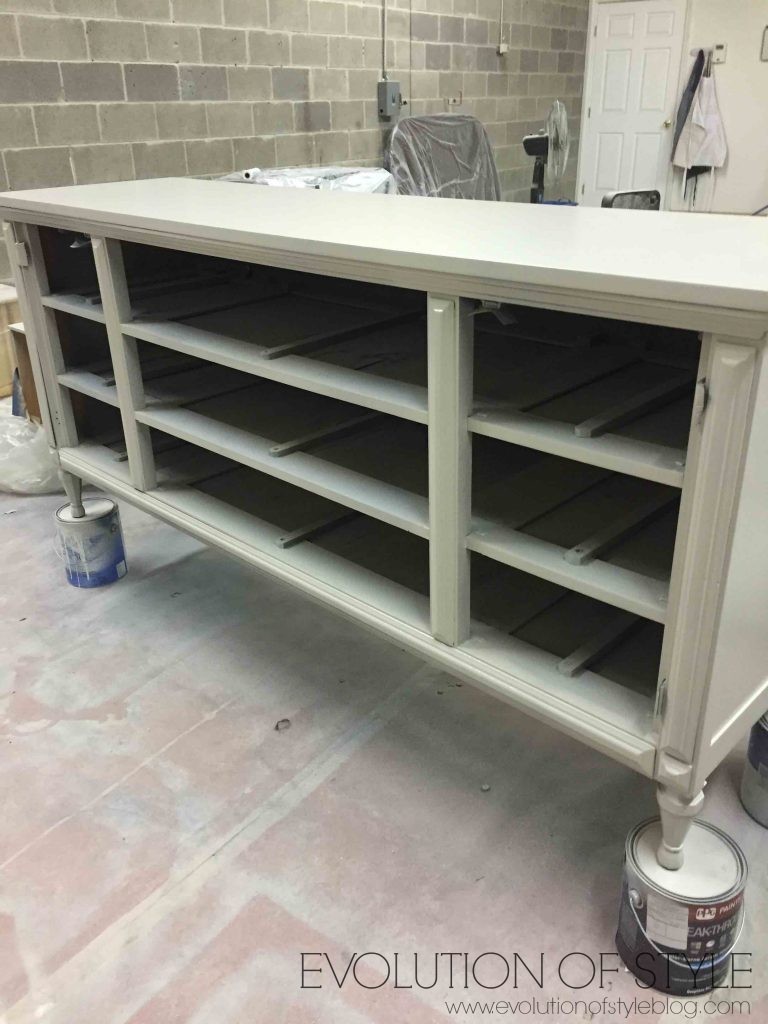
I cleaned and sanded, then primed, and sanded down in between coats. I did top coat with another new product – Minwax Matte Polycrylic. I’m really pleased with the finished look it gives – it maintains the buttery sheen that I got with the paint. And yes, I sprayed all of it for a nice smooth finish. The detail on those doors would have been a nightmare to brush and roll!

Let’s take a look at it now –
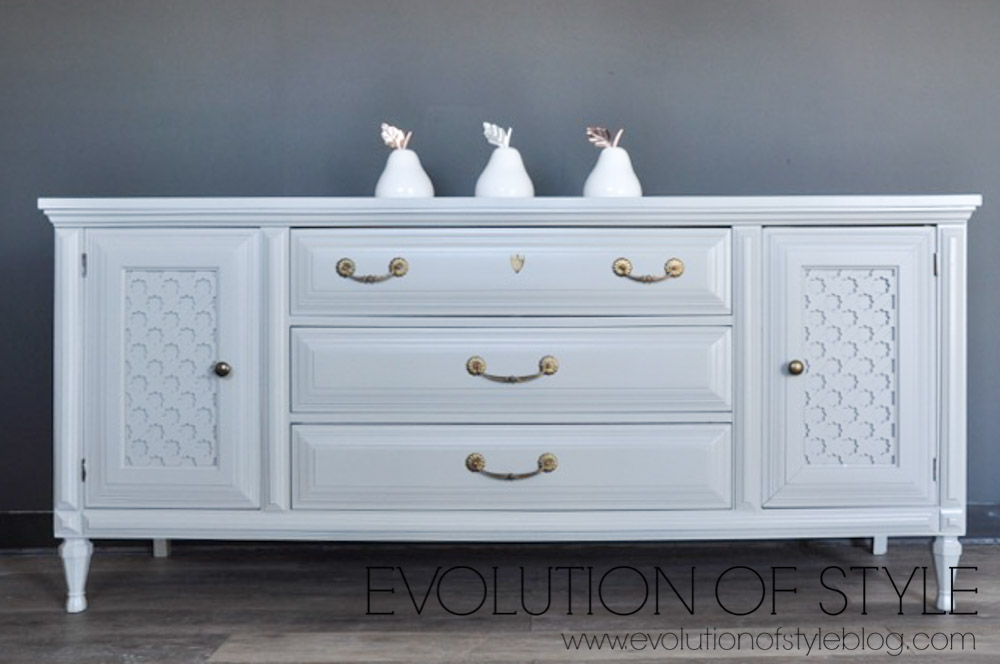
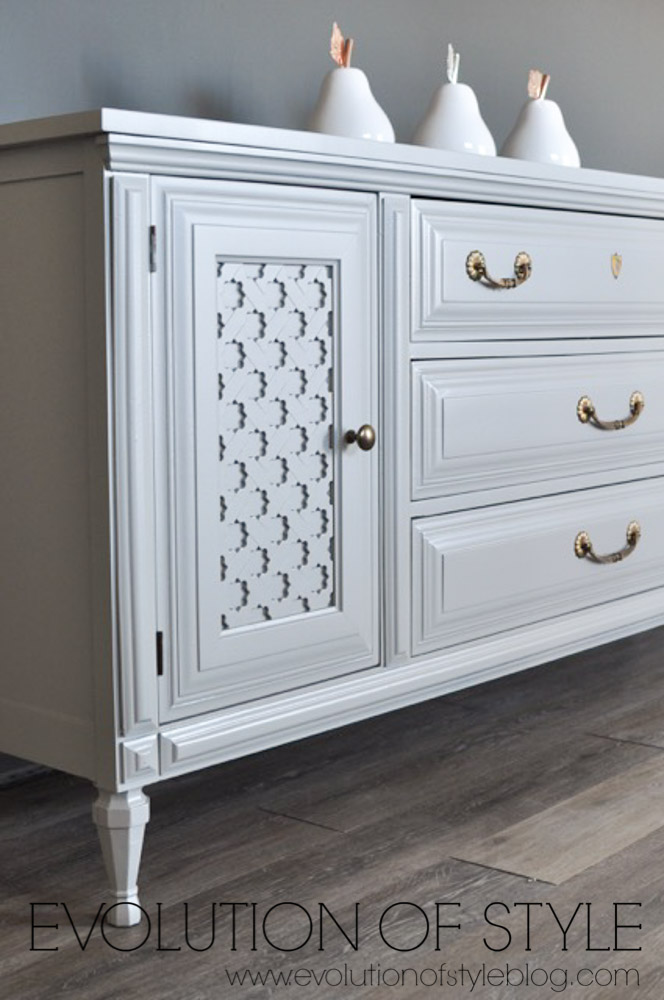

With the exception of the knobs (which don’t match as it turns out), I kept the original hardware. I tried different shades of Rub n’ Buff, but ended up giving them a good cleaning to showcase their original character and luster, which was just right.
This piece is currently for sale for $600, so please contact me if you’re interested and live in the Dayton/Cincinnati area!
Jenny

17 Comments
Stacy
October 23, 2017 at 7:21 amLove the color of the dresser. Gorgeous!
Jenny
October 23, 2017 at 8:00 amThanks so much Stacy!
Cassie Bustamante
October 23, 2017 at 7:55 ami love this one! i remember when you shared a peek on fb- love the details!
Jenny
October 23, 2017 at 8:00 amThanks Cassie – I’m still trying to get over my painting-beautiful-wood-guilt on this one, but it really is pretty!
Patricia
October 23, 2017 at 6:07 pmYes – the wood was pretty before but this is much more beautiful ! This is a head turner – before I would have walked right by it ! Beautiful !
Jenny
October 23, 2017 at 7:53 pmThanks so much Patricia – it really is a beautiful piece.
Debbie
October 23, 2017 at 7:39 pmIt is beautiful and I love the color. I also love the style of the dresser. What is the color on the drawer fronts, please? I wish we were in the Dayton/Cincinnati area and I would purchase in a heartbeat.
Jenny
October 23, 2017 at 7:53 pmThanks Debbie! The drawer fronts are the same color as the rest of the dresser – Flannel Gray. 🙂
Diane
October 24, 2017 at 8:20 amHi Jenny, I think Debbie wants to know the color of the inside drawers. They look like a dark grey, but now I’m thinking you may have used Gentlemens Grey??
Jenny
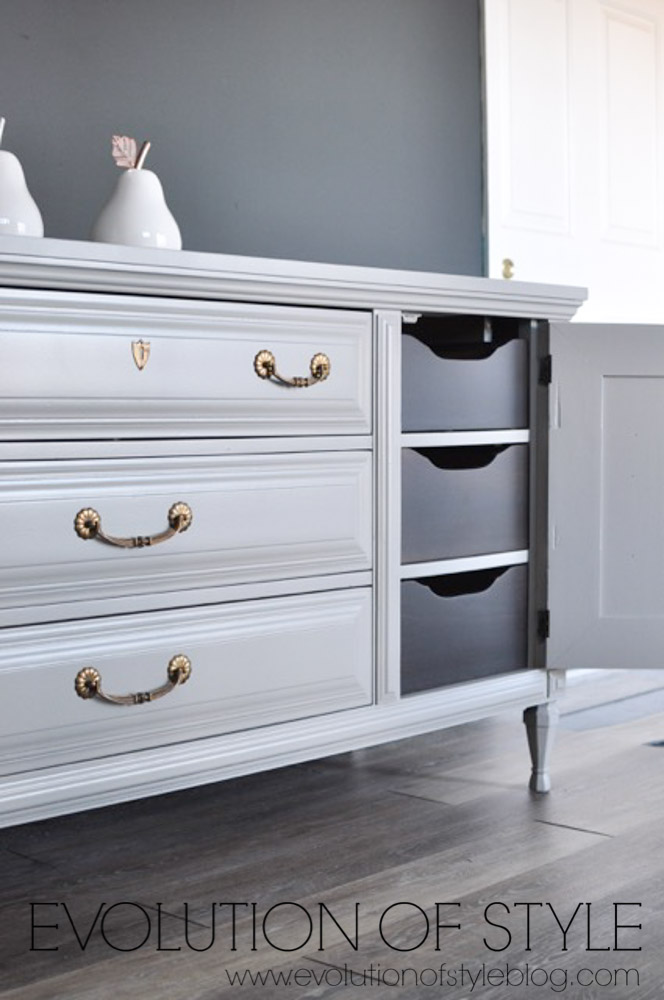
October 24, 2017 at 4:13 pmOooops – I’m a little slow on the uptake sometimes! The inside drawers are stained in a walnut finish. 🙂
Jenny
October 24, 2017 at 4:14 pmMisunderstood your question Debbie! The drawers inside the dresser are stained in a walnut finish. 🙂
Joan
October 24, 2017 at 11:10 amBeautiful piece and nice job. Did you use a sprayer of roller and brush? Did you use satin or semi gloss paint. Thanks
Jenny
October 24, 2017 at 4:12 pmI sprayed the whole thing – the finish is more of a satin finish, and the top coat that I used is a matte clear coat. So pretty!
Lisa
October 24, 2017 at 12:11 pmIt’s beautiful Jenny! I love that soft grey you landed on, it’s just perfect with the gold hardware, so pretty! I love that detail on the doors!
Lois
November 2, 2017 at 9:37 pmBeautiful.
Sonda
February 16, 2018 at 6:47 pmHow do you paint around or cover the key hole? I am refinishing a similar dresser, which has a brass detail that is nailed onto the dresser and I don’t want to risk damaging it by removing it.
Jenny
February 19, 2018 at 4:13 pmIn some cases I’ve used an Exacto knife or a box cutter and put tape over the hole and then cut around it to get it as precise as possible.