
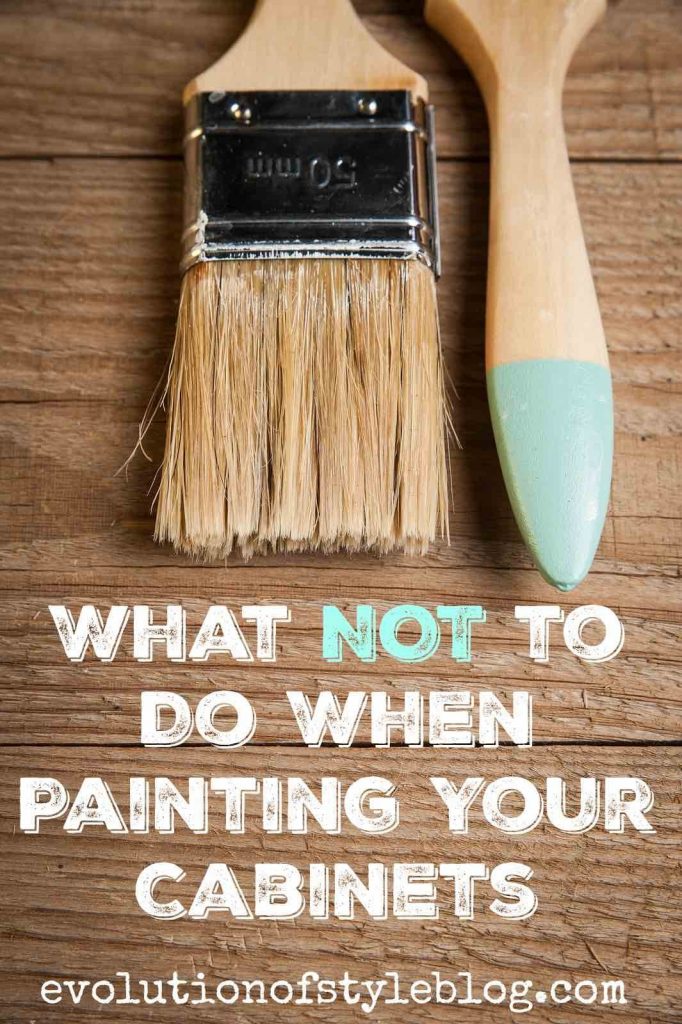
There are a million different tutorials out there that show you how to paint your kitchen cabinets, and I’ve contributed my own tutorials (here and here and here are the most popular ones) as well. Since I’ve been doing this for awhile, I thought it might be useful to tell you what NOT to do when painting your cabinets. And if you’re still freaked out, sign up here to stay in the loop on upcoming online cabinet painting courses taught by me. Coaching you through it, holding your hand, talking you down from the ledge, step by step. This post contains some affiliate links.
1. Don’t Skimp on Prep
This one is a huge sticking point for me, and I can tell you that I get a little twitchy when I see things out there that tout “No prep necessary” or “Paint Your Cabinets without Sanding or Priming.” No. Just no. We’re friends here, so I’m going to tell it to you straight. Your paint job is only as good as your prep work. Period. So, if you’re going to go to the time and trouble of painting your cabinets, make sure you do it right the first time. That means cleaning. That means sanding. That means priming. I’m sorry to be the bearer of bad news, but if you want the job to last over the long haul, take the time to do the work.

I promise that it’s not as terrible as you’re making it out to be in your mind. You don’t have to sand to bare wood, just enough to take some of the gloss off of it and to get rid of any additional gunk that you may have missed when cleaning. It sounds way worse than it is, but it’s a necessary part of the process. Trust the process.
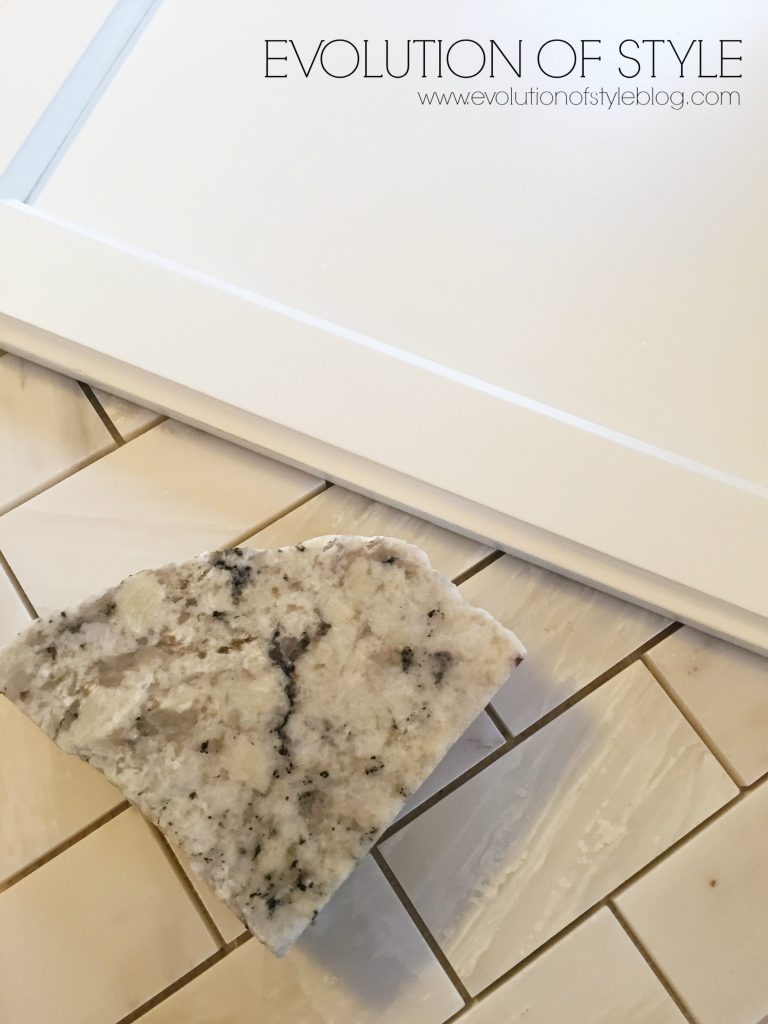
2. Don’t Choose Your Paint Color Before Choosing Other Finishes
If you’re going to be making other upgrades to your kitchen, in addition to painting your cabinets, base your paint color decision on your finishes. What do I mean by this? It’s easier to match a paint color to a new countertop than to choose a countertop based upon a paint color. I know sometimes things need to be done in stages, and I totally get that. But if at all possible, try to work your paint color around your finishes, not the other way around.
3. Don’t Choose a Paint Color from a Small Paint Chip
Choosing a paint color is a big decision when painting your cabinets, and you want to make sure you get it right the first time. My suggestion is to get some paint samples (a lot of them if necessary), and put them on large sample boards or old cabinet doors. I promise you this makes all of the difference. I’ve seen it many times over – you like one color on a paint chip, but on a larger scale you end up hating it and going in a direction that you might never would have considered. Take the time to carefully consider your options.
4. When You Clean Your Cabinets, Don’t Use This

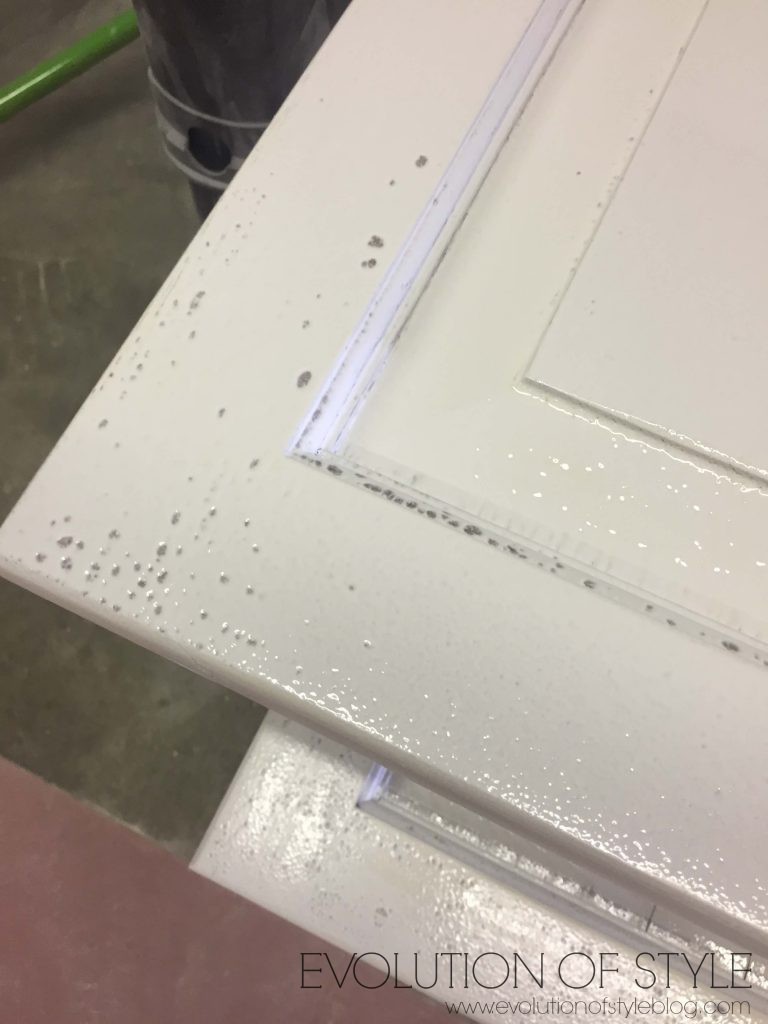
I have nothing against Pledge for polishing your furniture, but if you use it to clean your cabinets before you paint them, you’re setting yourself up for trouble. Pledge contains silicone, and silicone doesn’t play well with paint. Have you ever heard of fish eye when it comes to painting? It’s NOT fun. And this happened after a thorough cleaning and sanding by me.
What do you do when this happens? Sand it down, clean with denatured alcohol and prime again. And my primer of choice is BIN Shellac Primer – it works great at sealing in tannins, stains, etc…
5. Don’t Paint Your Cabinets with Chalk Paint
Now before you start throwing rocks at me, hear me out. There is a time and a place for chalk paint. Furniture – yes. Kitchen cabinets – no. It may sounds great, with the “no sanding, no priming” slogan that so often goes along with it, but in my experience, it’s not a good idea. With all of the action that goes on in the kitchen, chalk paint isn’t the right paint for the job.
6. Don’t Seal Your Cabinets with Wax
I know that wax is all the rage with furniture, and I don’t have an issue with waxing furniture, as it doesn’t get the same amount of wear and tear that cabinets do. But, if you seal your cabinets with wax, over the long term, you’ll end up with issues like this.
As you can see, this is a high end kitchen that was chalk painted and then sealed with wax (see Point #3 for why chalk paint is not a good idea.) Do you believe me now? Again, with the types of things you run into in the kitchen (grease, dirt, splatter, etc…), the wax just doesn’t hold up over time. And guess what? This homeowner was in the process of moving, and you guessed it, needed her cabinets repainted. Here’s the thing with cabinets that are sealed with wax – you can’t just clean it off, or even sand it off. It’s a huge undertaking to rid a surface of wax so that you can start from scratch. So, save yourself the trouble, and don’t do this to your cabinets. Furniture, yes. Cabinets, no.
7. Don’t Use Poor Quality Painting Tools and Products
In the same way that poor prep work can impact a paint job, so can poor products and tools – paint brushes and rollers, good primers and paints, etc… For example, if you’re painting your frames by hand, good rollers and brushes will give you a smooth, finished look, and can make or break your finished product. I’m a huge fan of Picasso paint brushes and use the Wooster Mohair roller for my primer (and I also used it to apply the the Benjamin Moore Advance on frames). For applying PPG Breakthrough to cabinet frames, I prefer to use a flocked foam roller.
You don’t want a thick nap on a paint roller when applying your paint. That’s where you’ll end up with texture, and it’s not your friend if you want a professional finish.
As you know I spray the cabinet doors in the kitchens that I do, so you’ll want to be sure that you have a sprayer that’s up to the task. I just tested out a great one for DIYers here, so there are options out there that won’t break the bank. And it’s so simple that you can practically use it right out of the box.
8. Don’t Panic if Something Goes Wrong
I know that tackling a project like this one is intimidating. It’s big, and it’s one that you don’t want to screw up (because maybe your spouse will never let you down). But this is what I tell people – it’s not a difficult project. It’s time consuming, it’s sometimes tedious and it requires paying attention to detail. Things will go wrong somewhere along the line, but so far I haven’t come across anything so completely catastrophic that all was lost. Problems can be fixed, I promise.
Jenny

26 Comments
Jeanne
March 6, 2018 at 1:12 pmSound tips…wish I had seen these BEFORE I tackled the Kitchen. 🙂
MissyB
March 6, 2018 at 1:30 pmDo you like the BM Advance or the PPG breakthrough best? Also, do you have a go to white that you tend to use more than any others?
Cathryn
March 6, 2018 at 7:59 pmWow, thank you for this post. I was going to use chalk paint and wax and we are considering moving in 1-3 years, so a lot of Not to Dos!
Linda
March 7, 2018 at 7:48 pmWe live in a apartment that is somewhat old. The cabinets are in need of an update, but the owners will not update them without raising the rent. I found this formula that will cost to much to do.
Do you think this is advisable?
Clean Cabinets Before Painting:
1 part vinegar, 1 part water, scrub brush
Wash cabinets with solution & scrub where needed.
Wipe down cabinets with fresh water; allow to dry.
Apply paint.
Analy
March 13, 2018 at 11:21 amHi there! Thanks for the advice! I am starting the process and I’m terrified! So far it seems like I’ve got the formula down the way you recommend. The only thing I’m not doing it priming. I bought the Valspar Cabinet Enamel paint and I was told I didn’t need to prime. What do you think? Please help!
Jenny
March 13, 2018 at 10:04 pmSee Rule #1 – don’t skimp on prep. That means priming – even if they say you don’t need to prime – I don’t believe it! Better to be safe than sorry!
Betsy
September 30, 2023 at 4:06 pmHi Jenny, what brand is that that taupe looking subway tile backsplash? Thank you.
Jenny
October 11, 2023 at 3:14 pmSorry, I don’t have that information.
Ivory
March 13, 2018 at 6:36 pmWow, I love this post, it’s fabulous. Thank you.
Beth Heim
June 1, 2018 at 12:41 amJenny, I also do a lot of painting and have Woosters and Purdys by the bucketful! I know what I like when I paint, but when someone asks me, “what is the best brush to paint cabinets with” , which one should I tell them? the extra soft? firm? 3″ and an angle? white bristle or pink combo nylon ?! lol
Jenny
June 4, 2018 at 6:02 pmI think a lot of it is personal preference. I like an angled brush for walls (and I used to use one for cabinets), but I’ve switched to a straight edge brush by Fox that I order from the UK. I swear, I’m not high maintenance on anything else, but I’ve done a lot of research watching what some of the UK master painters use when hand painting cabinets, and I love these brushes!
Carol Wood
July 2, 2019 at 10:50 amIf you don’t use wax, what do you use as a finish?
Jenny
July 11, 2019 at 10:18 pmThe paint products I use don’t require a top coat.
Rachel
August 9, 2019 at 12:04 pmYour tips are awesome! We are currently painting brand new custom paint ready cabinets. Everything was going pretty good until coat two of paint. We are using Benjamin Moore advanced and spraying. The frames have all kind of waves and runs and speckles. They were smooth and pretty after the first coat, I lightly sanded and cleaned. I don’t know where to go from here. We are going to switch sprayers and rent a higher end one. But I’m not sure how to fix the frames in the mean time. Ive heard wet sanding, denatured alcohol, but it’s a big fix. I’d love any insight you have
Jenny
August 13, 2019 at 8:54 pmWhat sort of primer did you use? Did you allow for enough dry time in between coats? The Advance has a 16 hour recoat time that is important to follow. If you’d like to send me some photos, please do, and I’ll see if I can be of any assistance ([email protected]).
Marie Mills
April 4, 2020 at 11:31 pmI need help! My cabinets had some decorative pieces in them. I pulled them off, and uses wood filler to fill in the nail holes. Then sanded them smooth. I did not sand the finish completely off- but instead had places where there was stained wood and bare wood. I then primed with KILZ 3 – 2 coats. Then I used a cabinet and trim paint from Ace Hardware. The paint looks great, except where the raw wood was. The pattern still shows through! I am using a very light color (not quite white). I don’t know what to do now. So I start over? Do I dig in and do a few more coats?
Jenny
April 5, 2020 at 11:47 amDid you use oil based Kilz? I would reprime with an oil based/stain blocking primer and repaint those areas.
Daisy
May 12, 2020 at 8:38 amI painted my first coat of primer last night but I didn’t use a roller I just a paint brush. Did I make a mistake by not using a roller? Also how many layers of primer should i do?
Jenny
May 26, 2020 at 8:19 pmI always use a roller and a brush – they each serve their own purpose. I typically do two coats of primer and two coats of paint. Using a roller will minimize brush strokes and give you a more refined finish.
Linda Hairr
July 2, 2020 at 7:03 pmThank you for the amazing info! Do you spray on the primer also? Or just the paint? I feel confident that I can do this now!
Jenny
July 4, 2020 at 12:42 pmI spray both. If you have oak cabinets, I recommend back brushing it into the grain, and then going over it again with another spray coat. It helps to work it into the grain a bit more and gives a better result. I’m glad you found this helpful!
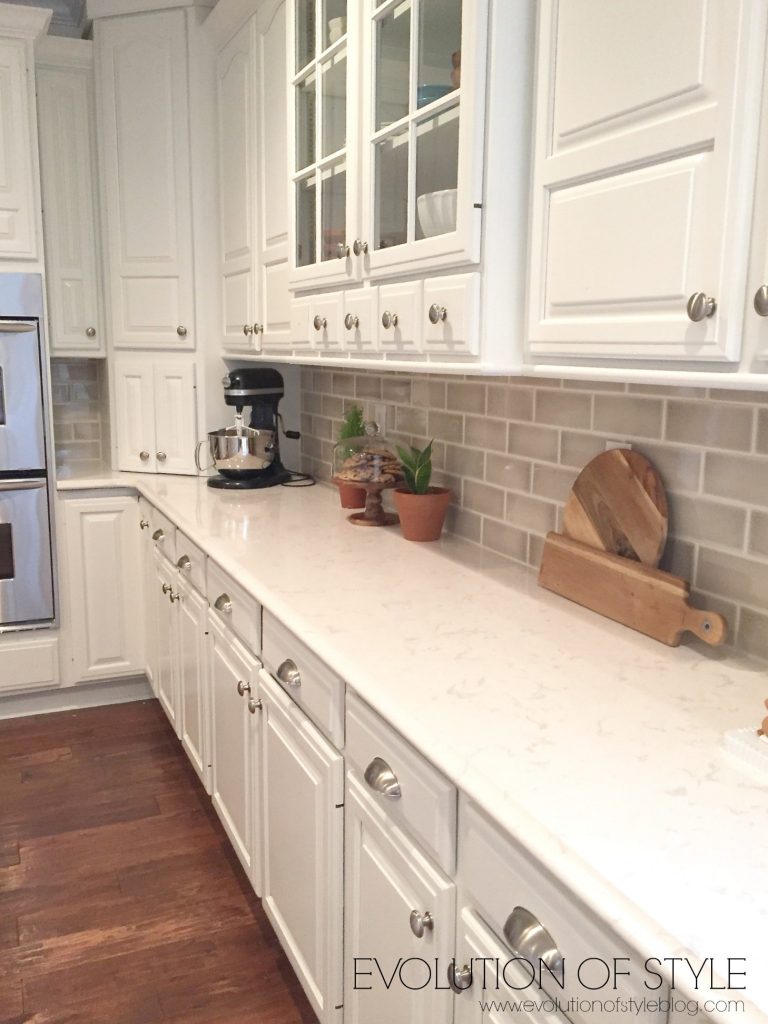
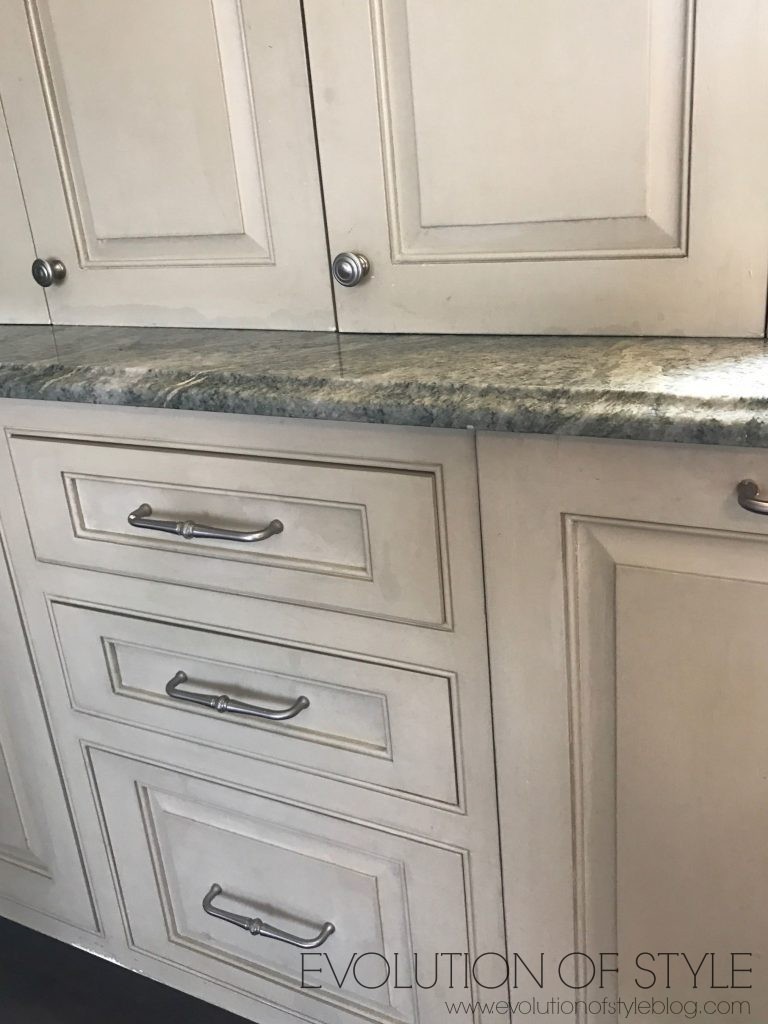
Annie
December 31, 2020 at 11:35 amHello! Do you happen to know the name of the beige/grayish Backspalsh tile in the first photo? Thank you!
Lacey
January 28, 2021 at 12:24 amHi! I have a very old kitchen that already has painted cabinets. I would like to paint them another color and I need to paint the inside as well. Do I follow all the same steps?
Jenny
February 11, 2021 at 11:59 amI would make sure you got as much of the old finish off the previously painted cabinets, and then follow the same process.
Novie Lindsey
May 26, 2021 at 12:19 pmDo I need to paint the inside of the cabinets
Jenny
May 31, 2021 at 10:15 amI only paint the insides when they are glass fronts.