
I don’t take on a lot of custom furniture projects because I get stressed out about the final result, and tend to get a bit OCD in the process. Case in point – the nightstands I did for a friend, where I fussed with a couple of imperfections on the top, and ended up doing SIX additional coats of primer/paint/clear coat. I should have left well enough alone, and saved myself the stress of it all. This table makeover is for the sister of my nightstand friend. It’s sentimental, in that it belonged to her great-grandmother (no pressure). It had seen a lot of living, had some chips and imperfections, and just needed a new look to update it for their home. So, I took it on, in the hopes of giving their old dining table a makeover. This post contains some affiliate links.
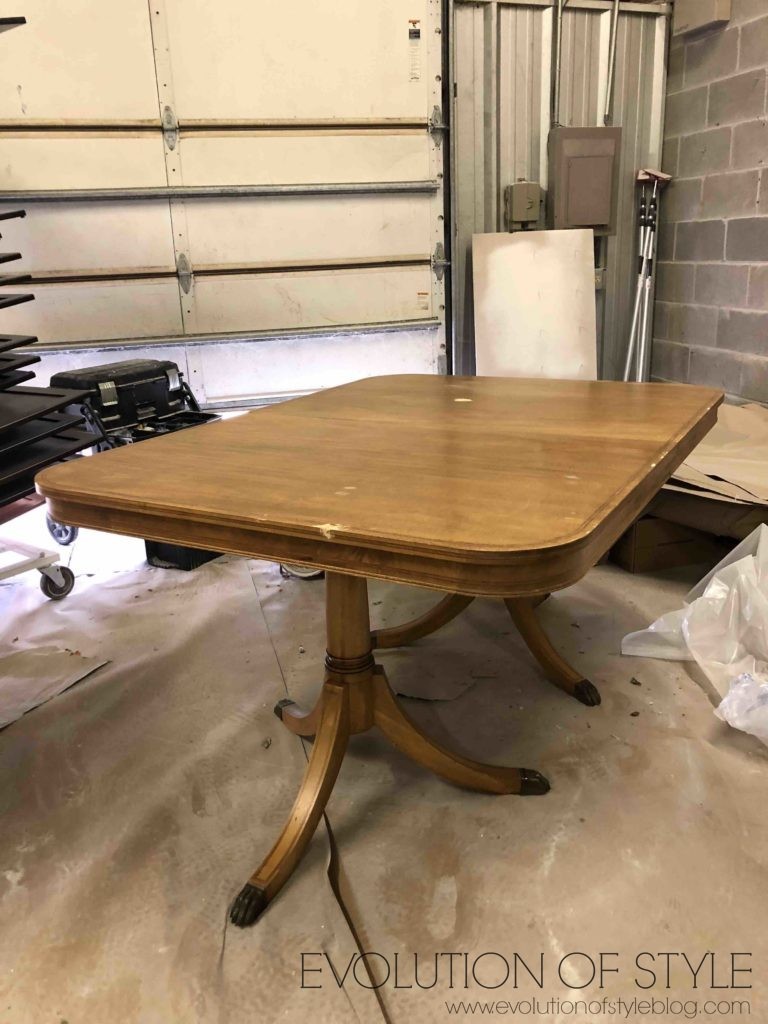
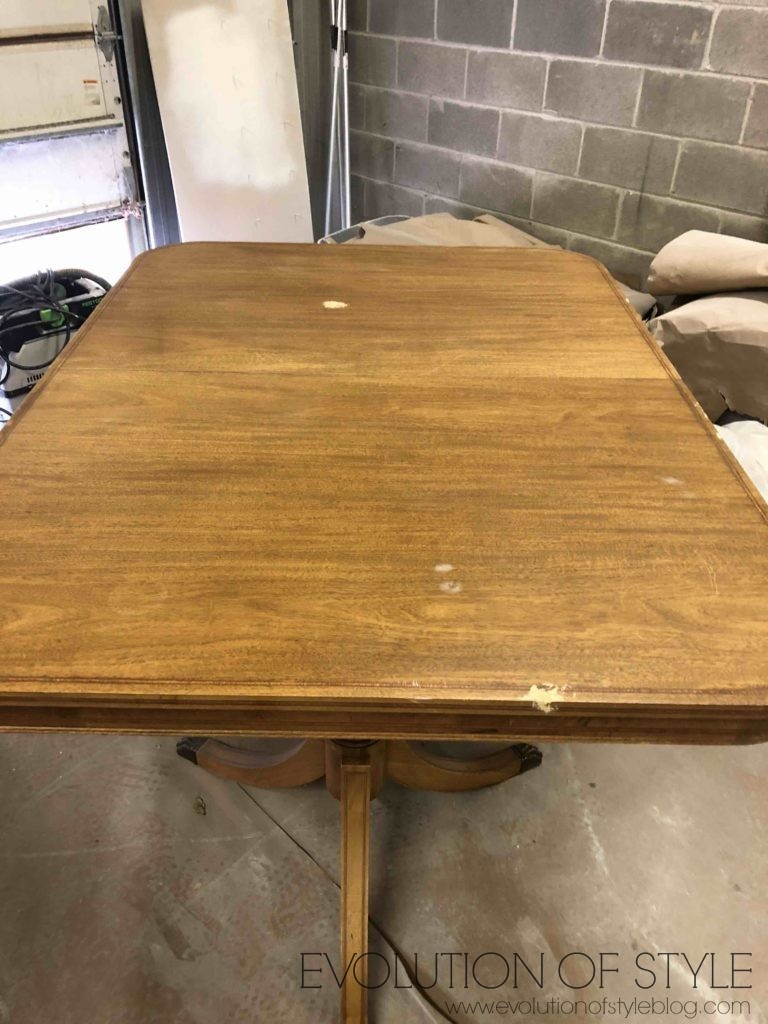
Before
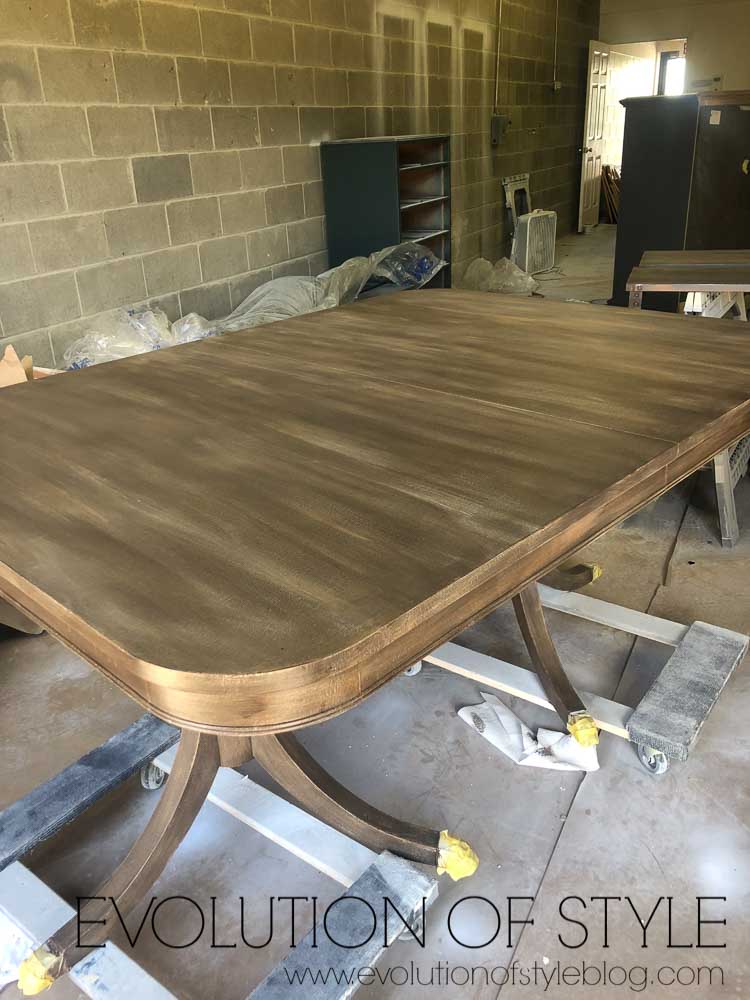
Let’s take a look at where this dining table began. Your own grandmother might have one just like it, or perhaps you’ve seen them listed at an estate sale or on craigslist. I apologize in advance for the state of my shop. I’ve been so ridiculously busy that it’s become a drop zone disaster.
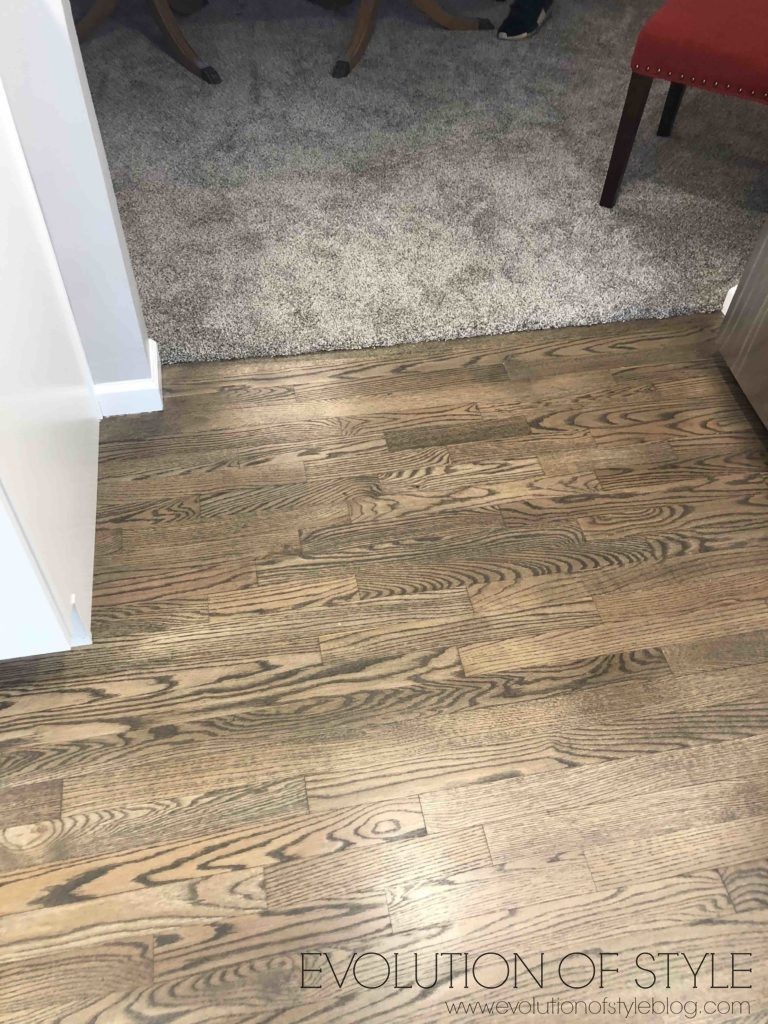
The homeowner had just had her kitchen remodeled, and wanted the table to emulate the color of their wood floors.
At first I thought I would do a paint wash technique, similar to what I did on this dining table makeover. But after doing some research, knowing the look that I wanted, I opted for a different technique altogether – a layered dry brush technique with a glaze, and a clear top coat. I was inspired by seeing this cool range hood makeover that my friend Sara at Sincerely Sara D. created. I wanted a wood look, but with paint.
Supplies
- Krud Kutter Gloss-Off
- Sanding Block
- Wood Filler
- Primer (I used Rustoleum Primer in a darker tint)
- Jolie Paint in Espresso
- Annie Sloan Chalk Paint in Coco
- Annie Sloan Chalk Paint in Old Ochre
- General Finishes Glaze in Van Dyke Brown
- Clear Coat – (I used a 2k poly, but it’s no so much a DIY type of product. General Finishes Enduro is a great option.)
- Mini Paint Roller
- Paint Tray
- Paint Brush(es)
- Paper Towels
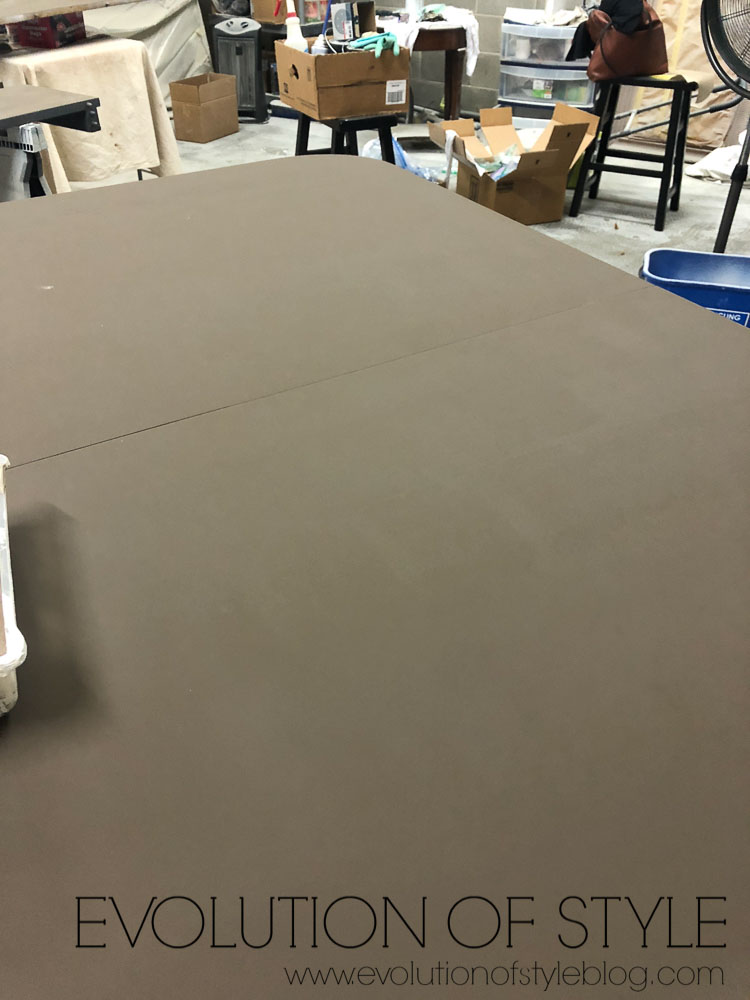
The first step in the process to clean, fill in any dings or chips, and sand the whole table (and the three leaves that came with it). Then I primed the whole thing. I opted for a tinted primer, since I was going to paint the whole thing in a base coat of Espresso. If you paint with a white primer, it will take more coats of paint to get full coverage. Why do I prime with chalk paint (which says no sanding or priming required)? Because it’s the right thing to do, and I’m a prep Nazi. I don’t trust the no sanding/no priming thing. It’s like voodoo magic to me, and I know what I know.
I will say going into this project, that you should be prepared to be totally convinced that it’s not going to look like you want it to look. All I can say is trust the process.
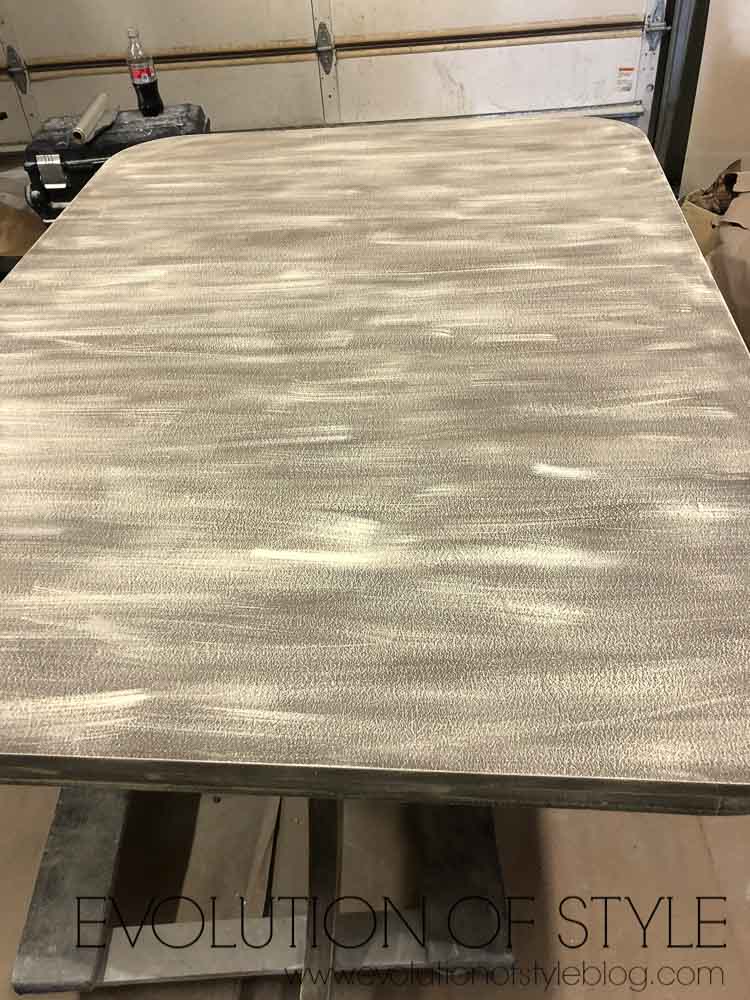
Honestly, this whole process is based on look and feel, eyeballing and a dash of hope. After the base coat, I did dry brush technique with a 50/50 mix of Espresso and Coco. And by “dry brush technique” I mean put some paint on your brush, dab most of it off on to a paper towel, and do brush strokes back and forth along the top, sides and legs of the table. It’s important to get most of the paint off the brush, as you don’t want big splotches of paint on the table.

I continued to do this dry brush technique with increasingly lighter colors (and combinations of colors). Some Coco, some Coco and Old Ochre mixed, some Espresso and Old Ochre mixed, a combination of all three, and some Old Ochre all on its own. Like I said, it’s a lot of eyeballing, until you get the look that you want. And even at that point, it’s going to feel scary. I promise, it will be ok. Glazing is the secret sauce in this project. Here is the table after my layers of dry brushing. Kind of scary, right?
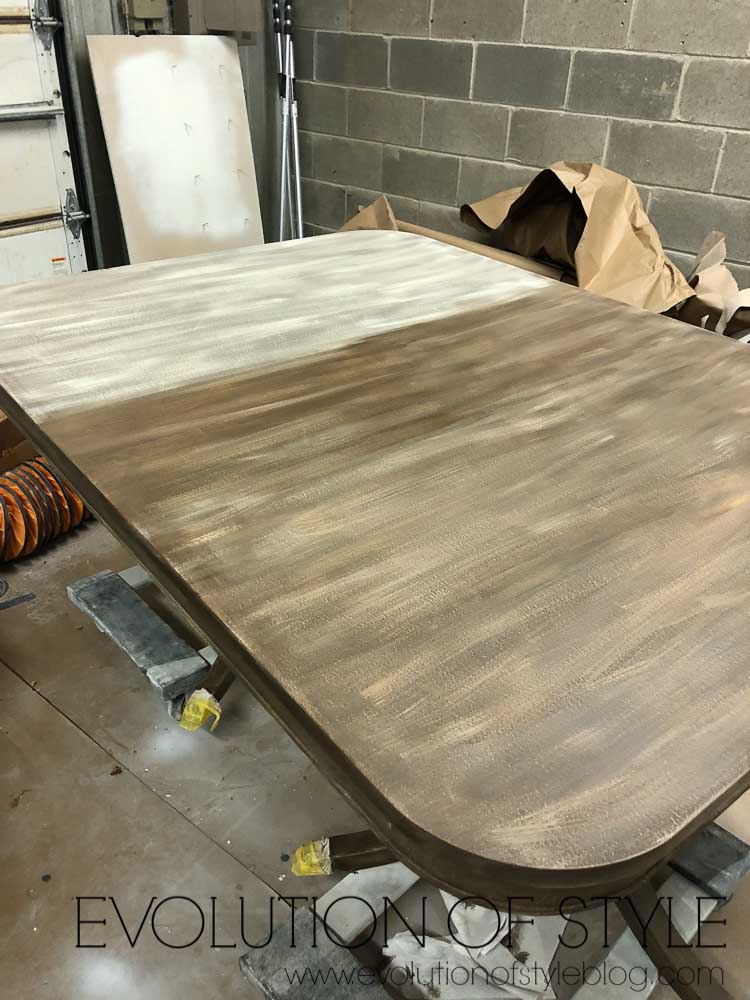
This is where I diverted from Sara’s process a bit. She did a dark wax on her range hood, and I used a dark wax on my last dining room project, but it stressed me out. I find dark wax a bit tricky to work with, and you have to do a clear was before the dark, which also requires some finesse (that I apparently just don’t have). I’m going to let you in on a secret. Glazing is the lazy girl’s dark wax. You get the warmth and depth that dark wax brings, without the stress of it. I applied the General Finishes Van Dyke Brown in a similar way that I did the rest of the table – small sections at a time – almost dry brushing it as well. You can see how it melds together all of the paint colors that were dry brushed, bringing it all together.
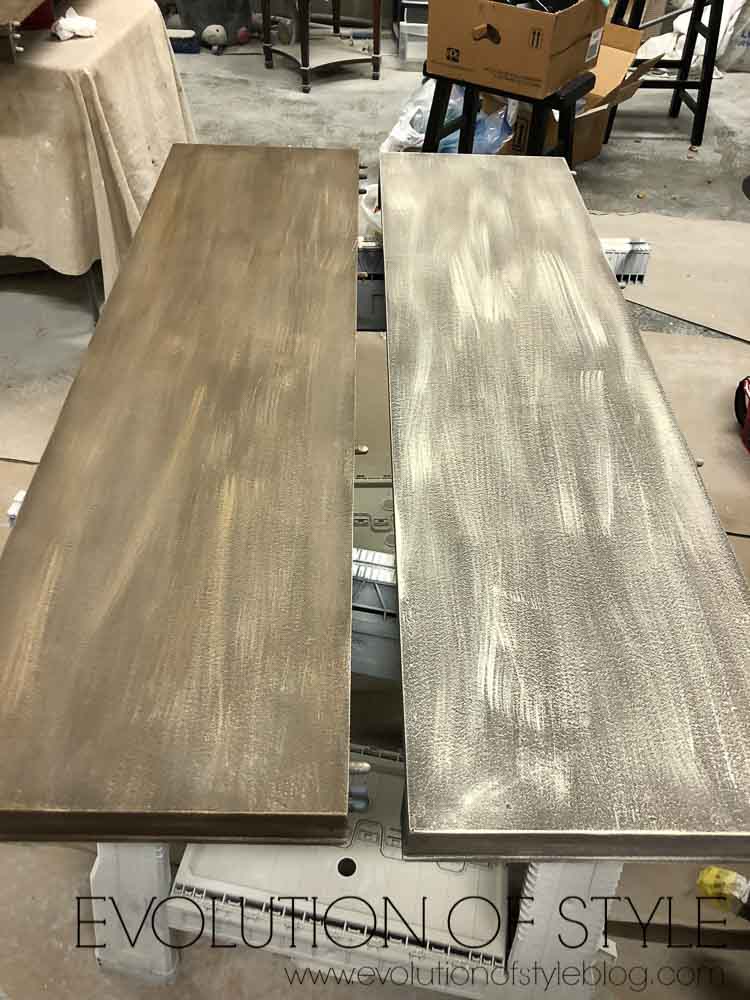
Look at the leaves – glazed vs. not glazed. Once the glazing was done and dry, I gave the whole thing a clear coat with my new 2k Poly, and called it done.
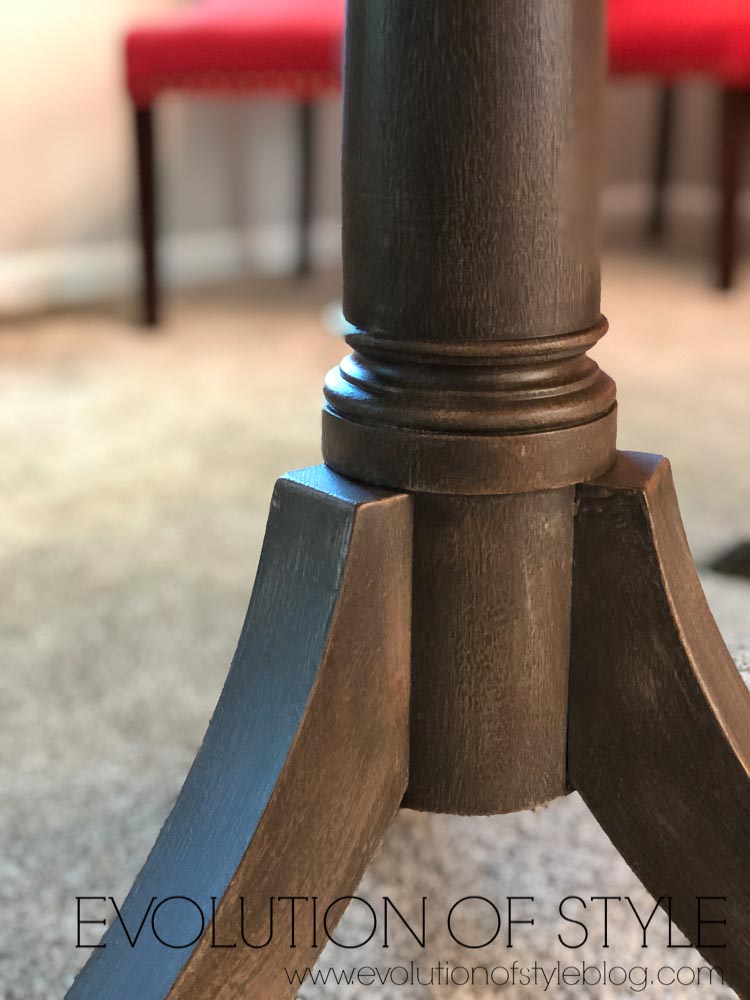
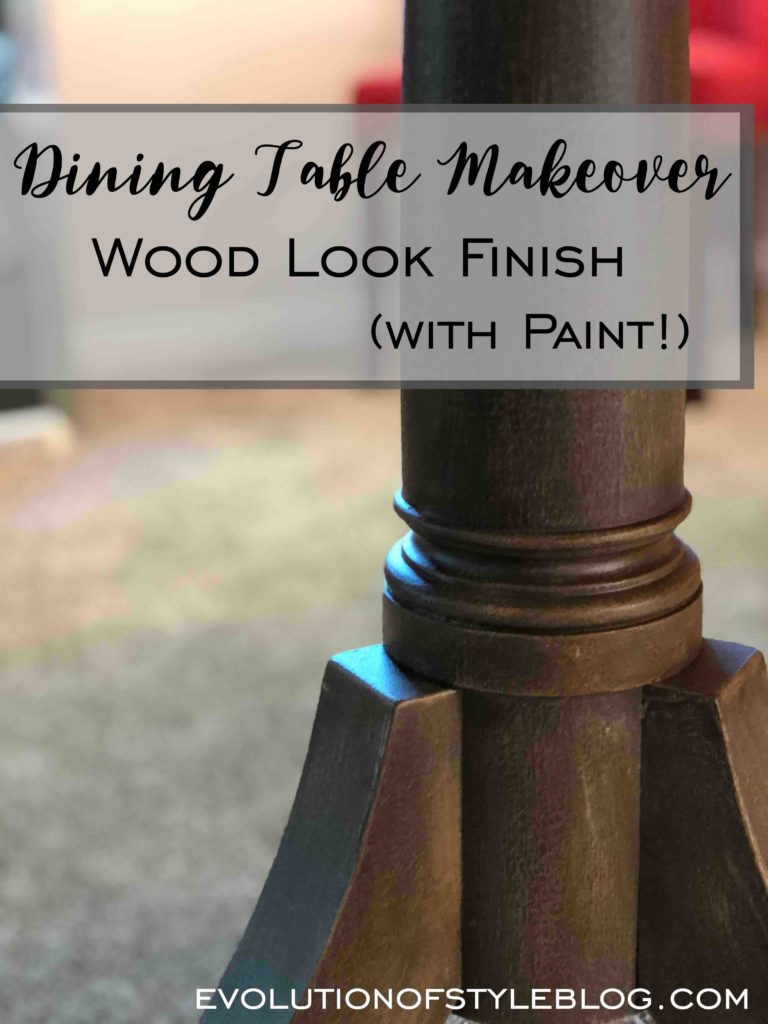
The detail on the table leg – yum.
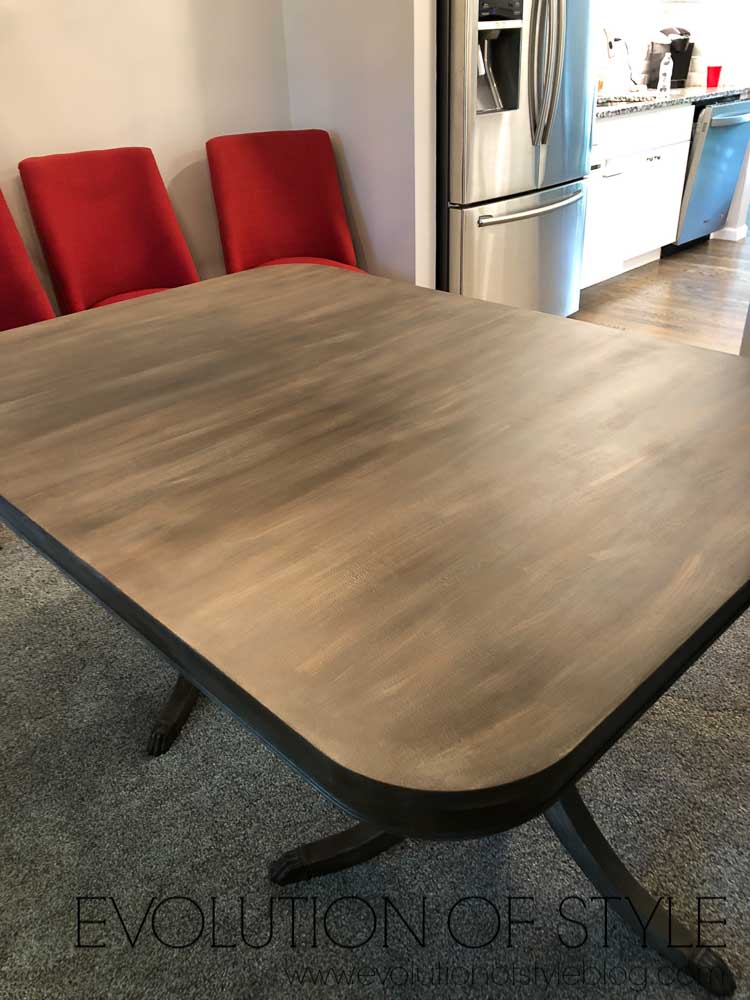
Dining Table Makeover – After
Here it is before delivery…
And here it is in place… You can see that it matches nicely with the wood floors in the kitchen.
Even though custom pieces tend to stress me out, I wish I had more time to dedicate to experimenting and honing my skills on them. It’s a lot of fun testing out new ideas and seeing a project come together. I love that this sentimental piece has been given a new lease on life to be enjoyed for many years to come.
Jenny

2 Comments
laurie z
July 1, 2019 at 2:30 pmWOW! That looks great….your friends sister must be dancing around it. You should write a book about how to paint all the things you do – you are very talented.
Jenny
July 1, 2019 at 6:41 pmThank you Laurie! You’re too kind.